Date Field – How to Use
April 17, 2026
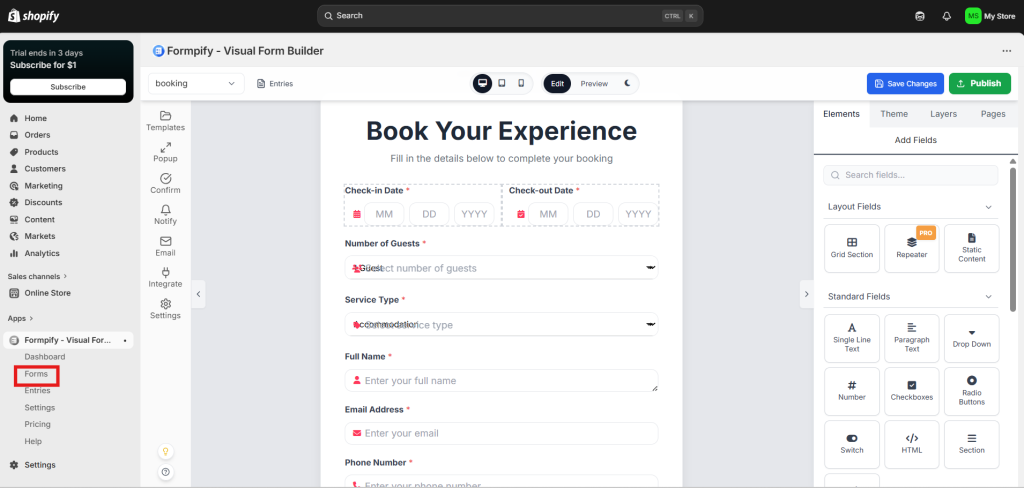
Step 1: Open Form Builder
Go to your form in Formpify and open the Form Builder.
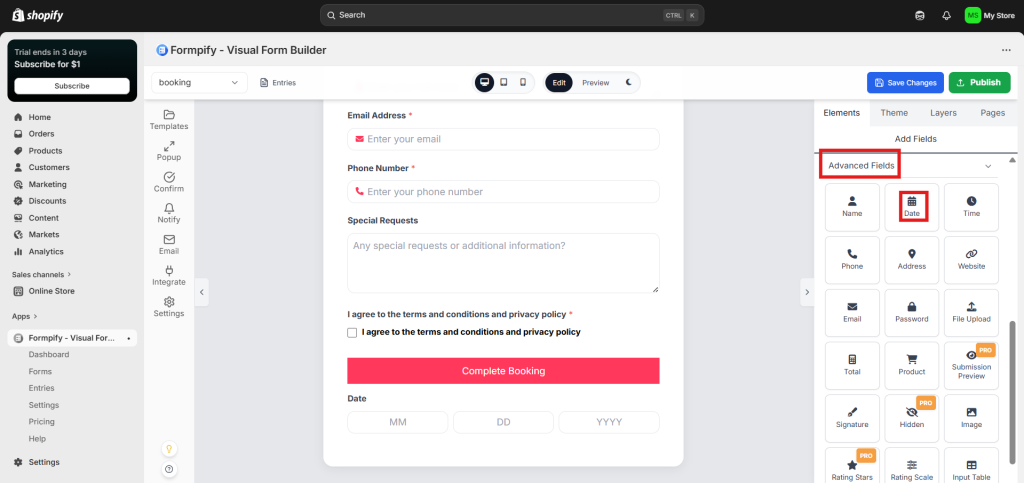
Step 2: Add Date Field
- In the right panel, open the Elements tab
- Under Advanced Fields
- Click Date to add it to your form
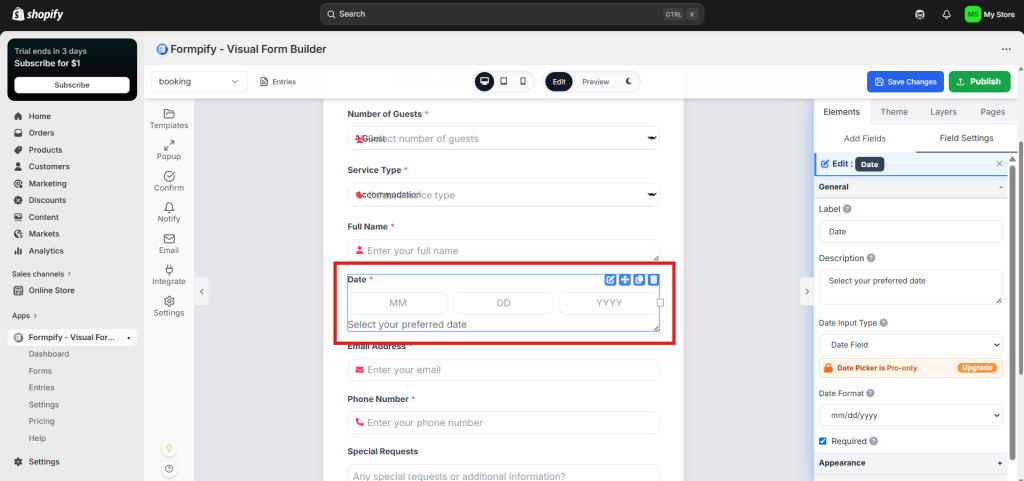
Step 3: Configure the Field
Click the Date field and set:
- Label → e.g., Booking Date
- Description → e.g., Select your preferred date (optional)
- Required → enable if users must select a date
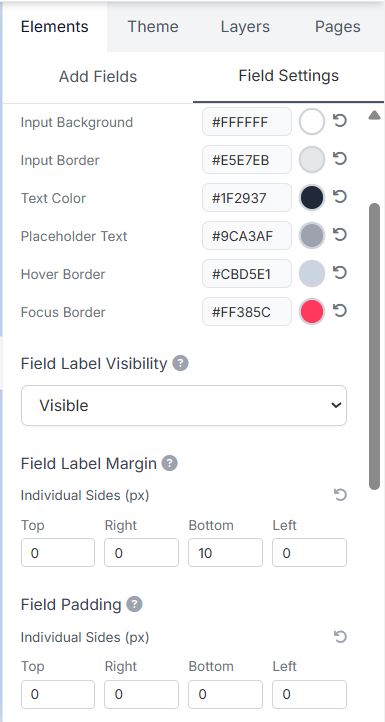
Step 4: Customize Appearance (Optional)
- Adjust colors (background, border, text)
- Set border radius
- Adjust spacing (padding, margin)
Step 5: Save and Publish
- Click Save Changes
- Click Publish to make the form live