
How to Build a Custom Return & Exchange (RMA) Portal on Shopify
Transform stressful returns into a smooth, automated post-purchase experience. Collect defect photos, validate order numbers, and route return claims instantly.
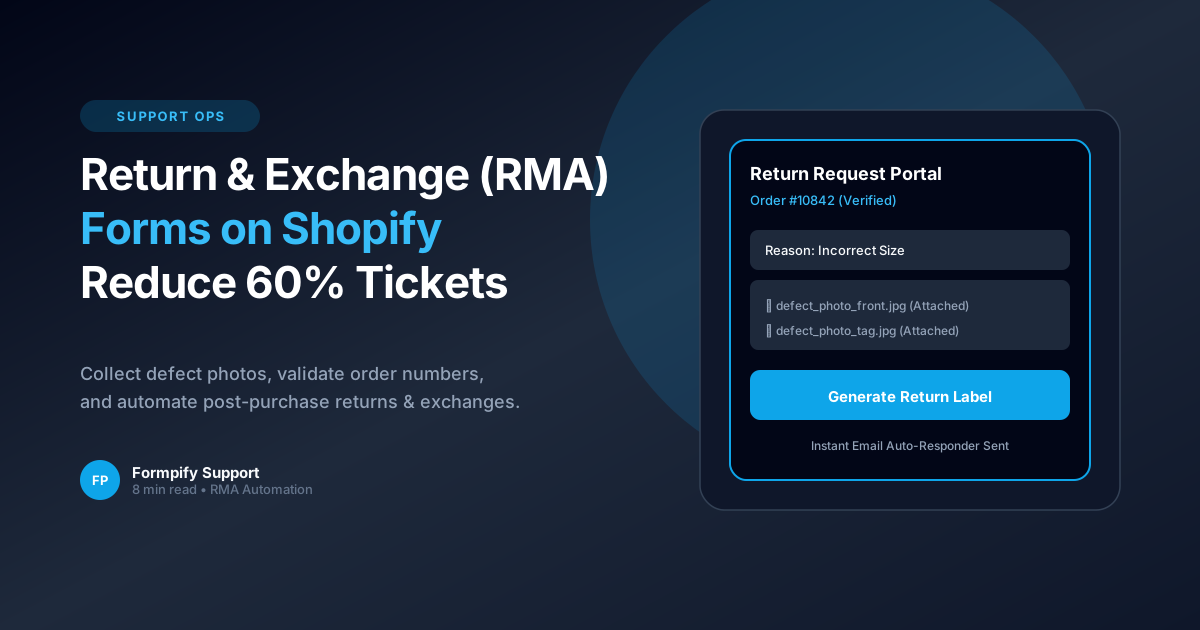
- Self-service return forms reduce customer support ticket volume by up to 60%.
- Enables customers to attach defect photos (JPG, PNG) and receipt PDFs up to 25MB using multi-file upload.
- Standardized return reason dropdowns (e.g. "Wrong Size", "Item Defective", "Changed Mind") streamline warehouse inspection.
- Automated email confirmations keep customers informed with return instructions and tracking guidelines.
Table of Contents
1. The Hidden Costs of Chaotic Return Processes
Transform stressful returns into a smooth, automated post-purchase experience. Collect defect photos, validate order numbers, and route return claims instantly.
In modern e-commerce, static forms and rigid default templates often create significant friction for buyers. When prospective customers cannot easily convey their unique requirements or receive immediate pricing feedback, abandonment rates soar past 60%. Implementing How to Build a Custom Return & Exchange (RMA) Portal on Shopify directly on your Shopify storefront eliminates these bottlenecks, transforming passive site traffic into highly qualified, ready-to-buy inquiries.
Whether you operate a direct-to-consumer brand, a bespoke manufacturing workshop, or a fast-scaling B2B wholesale operation, offering intuitive, branded form experiences builds immediate consumer trust and establishes a clear competitive advantage over generic storefronts.
Key Insight for Shopify Merchants
Self-service return forms reduce customer support ticket volume by up to 60%.
2. Anatomy of a Frictionless Return & Exchange Form
Building an effective workflow on Shopify requires a balance of visual aesthetics, intuitive form controls, and seamless backend data synchronization. Formpify makes this possible with zero coding required.
Here are the primary architectural capabilities powering this workflow:
- Key Feature: Enables customers to attach defect photos (JPG, PNG) and receipt PDFs up to 25MB using multi-file upload.
- Key Feature: Standardized return reason dropdowns (e.g. "Wrong Size", "Item Defective", "Changed Mind") streamline warehouse inspection.
- Key Feature: Automated email confirmations keep customers informed with return instructions and tracking guidelines.
By organizing complex selections into clear, digestible steps, customers remain engaged and confident throughout the entire interaction.
3. Handling Defect Photos & Verification Documents
Setting up this workflow in your Shopify store takes only a few minutes. Follow these practical steps inside the Formpify visual builder:
- Select or Create Your Form: In your Shopify Admin, open the Formpify app and click Create Form, or choose a specialized pre-built template from the template library.
- Add & Customize Fields: Drag the required field types (such as Card-style Radio, Dynamic Checkboxes, Number Inputs, Date Pickers, or File Uploads) onto your form canvas.
- Configure Rules & Formulas: Open the right-hand settings panel to assign conditional visibility rules, mathematical pricing formulas, or required validation parameters.
- Connect Integrations & CRM: Link your form directly to your email platform (Klaviyo, Mailchimp, Omnisend) or CRM (HubSpot, Salesforce, Google Sheets) for automatic lead dispatch.
- Embed in Your Theme: Open the Shopify Online Store 2.0 Theme Editor and add the Formpify App Block to any product template, landing page, or slide-out drawer.
⚡ Pro Implementation Tip
Always preview your form across mobile screen sizes. Formpify's card-style inputs and lightweight embed engine ensure sub-50ms execution and frictionless touch-friendly interactions on all smartphone devices.
4. Routing Return Claims to Warehouse Teams
To maximize lead conversion rates and maintain an exceptional user experience, implement these proven best practices:
- Progressive Disclosure: Keep initial questions simple and concise. Use conditional logic or multi-step flows to reveal detailed questions only when necessary.
- Transparent Estimates: If providing pricing or deposit totals, itemize base rates, add-on options, and applicable taxes clearly so buyers understand exactly what is included.
- Automated Follow-ups: Send an immediate branded PDF receipt or auto-responder email to confirm receipt and set clear expectations for next steps.
- Data Hygiene & Security: Leverage built-in Google reCAPTCHA v3 and Honeypot spam traps to ensure your database remains clean and protected against bot submissions.
By pairing clean frontend design with robust backend automation, your store can scale inbound quote inquiries efficiently without increasing manual administrative workload.
Build Custom Support & Return Forms
Explore Formpify’s Contact Form Builder with multi-file upload and instant email notifications.
Explore More Shopify Form Guides
 Shopify Guides
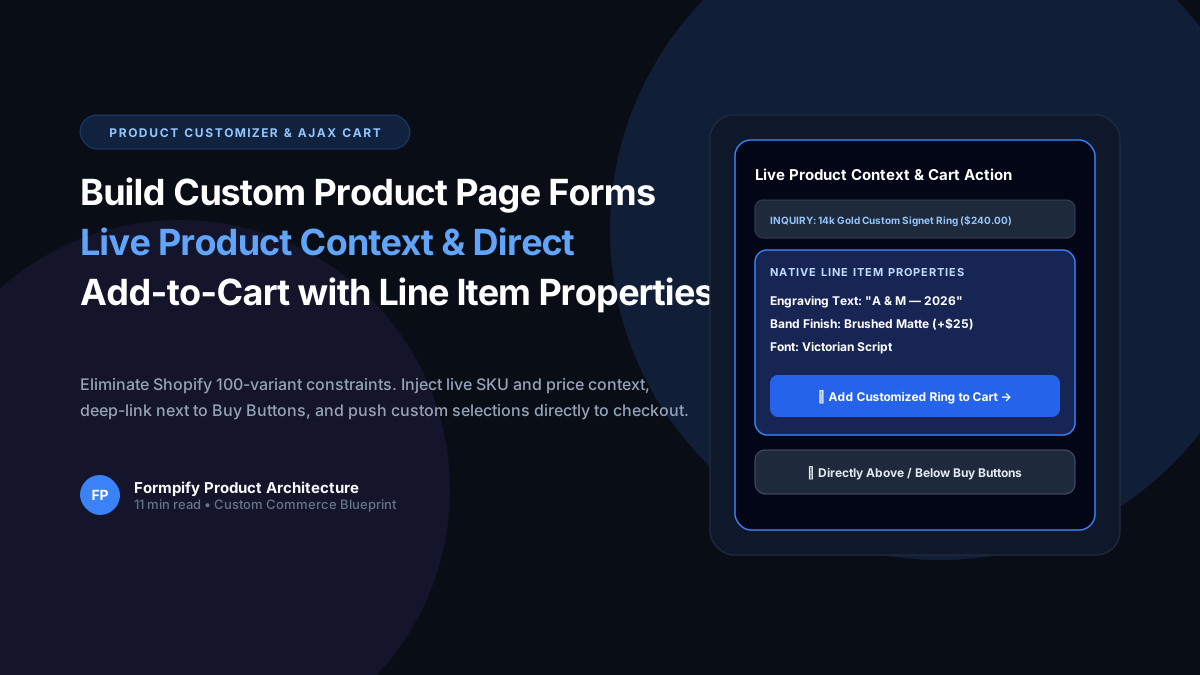
How to Build Custom Product Page Forms with Live Product Context & Direct Add-to-Cart in Shopify
Selling custom engraved jewelry, made-to-order apparel, or personalized gifts? Shopify strict 100-variant and 3-option ceiling makes bespoke customization nearly impossible with standard variants. Learn how Formpify Product Page Customizer injects live product context, deep-links directly above/below Buy Buttons, and pushes custom options straight to Shopify cart via Line Item Properties.
 Shopify Guides
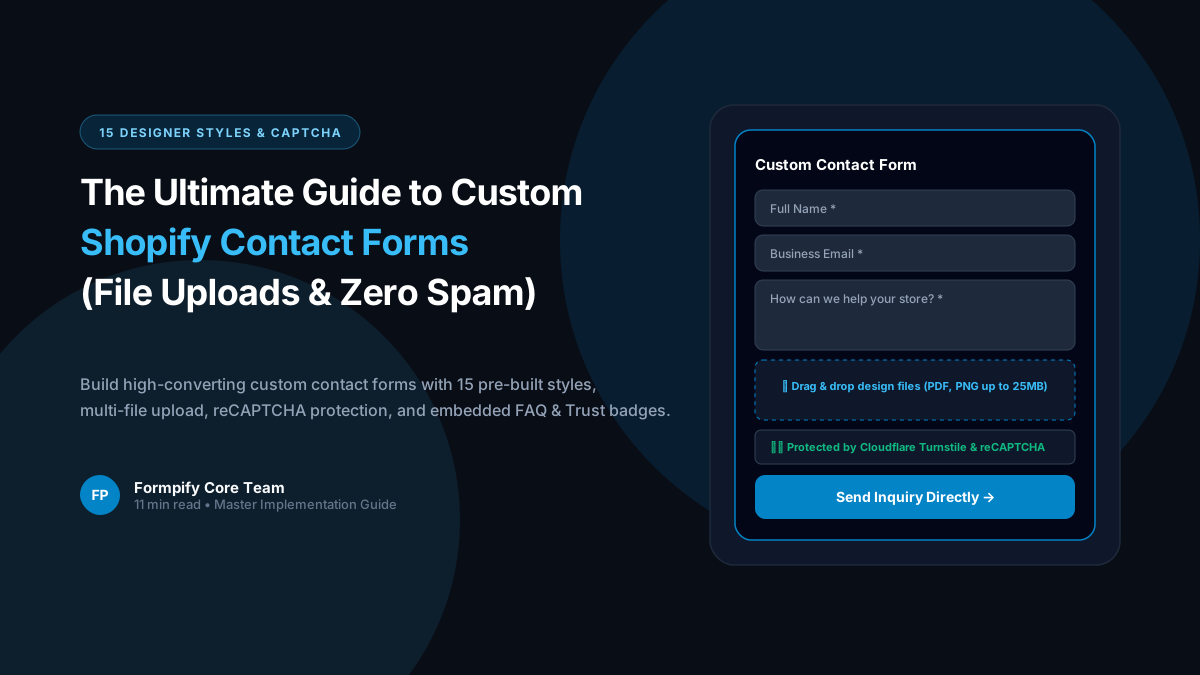
Shopify Custom Contact Forms: 15 Designer Styles, Spam Protection, File Uploads & Conversion Tactics
Default Shopify contact forms are bland, unbranded, and prone to spam bots. Discover how Formpify empowers merchants to deploy 15 designer styles, integrated anti-spam defense, multi-file uploads, and conversion-boosting utility widgets like FAQ accordions and trust badges without code.
 Shopify Guides
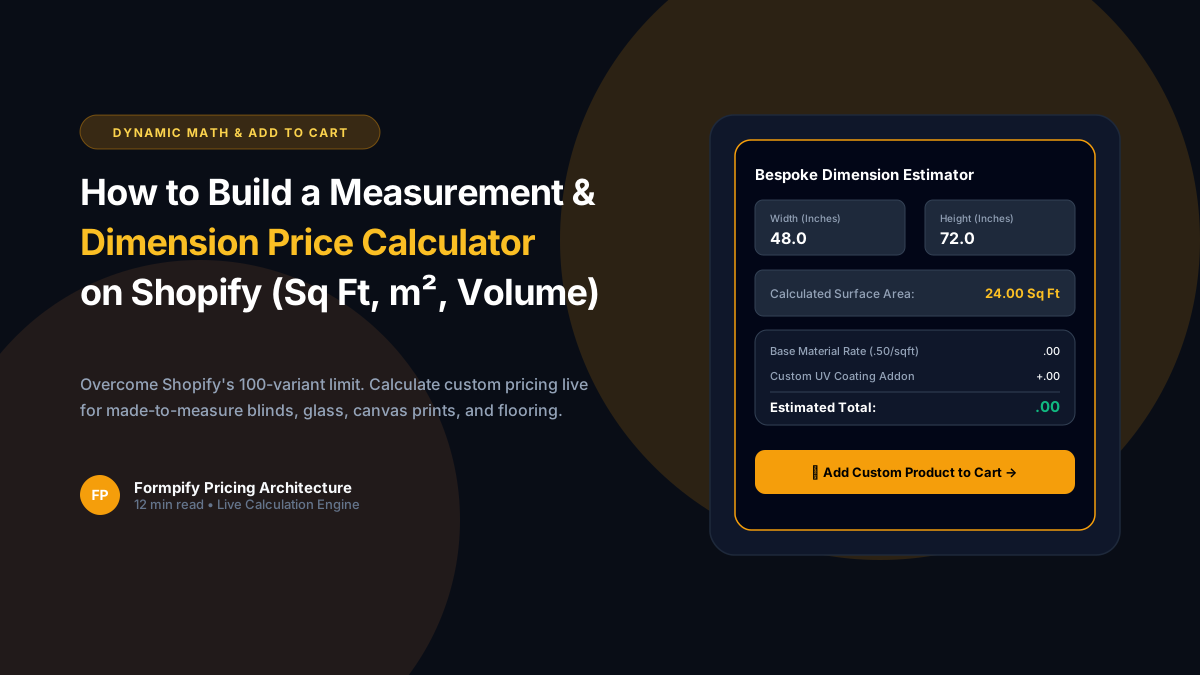
How to Build a Custom Measurement & Dimension Price Calculator for Shopify (Sq Ft, Linear & Volume)
Selling custom glass, framing, flooring, fabrics, blinds, or raw lumber? Standard Shopify variant limits (100 variants, 3 options) make dimension-based pricing impossible. Discover how Formpify's native Pricing Engine calculates real-time math formulas for square feet, linear dimensions, and volume, injecting custom calculated prices straight into Shopify checkout.
Ready to supercharge your Shopify forms?
Join thousands of merchants creating custom forms, surveys, and live cost calculators.